- Control Panel Username
- Control Panel Password
- Server - (e.g. Server 1)
We would highly recommend enabling 2FA and changing your password to something secure once you have logged in - To do this, click the arrow beside your username and follow the options.
Verifying Your Domain
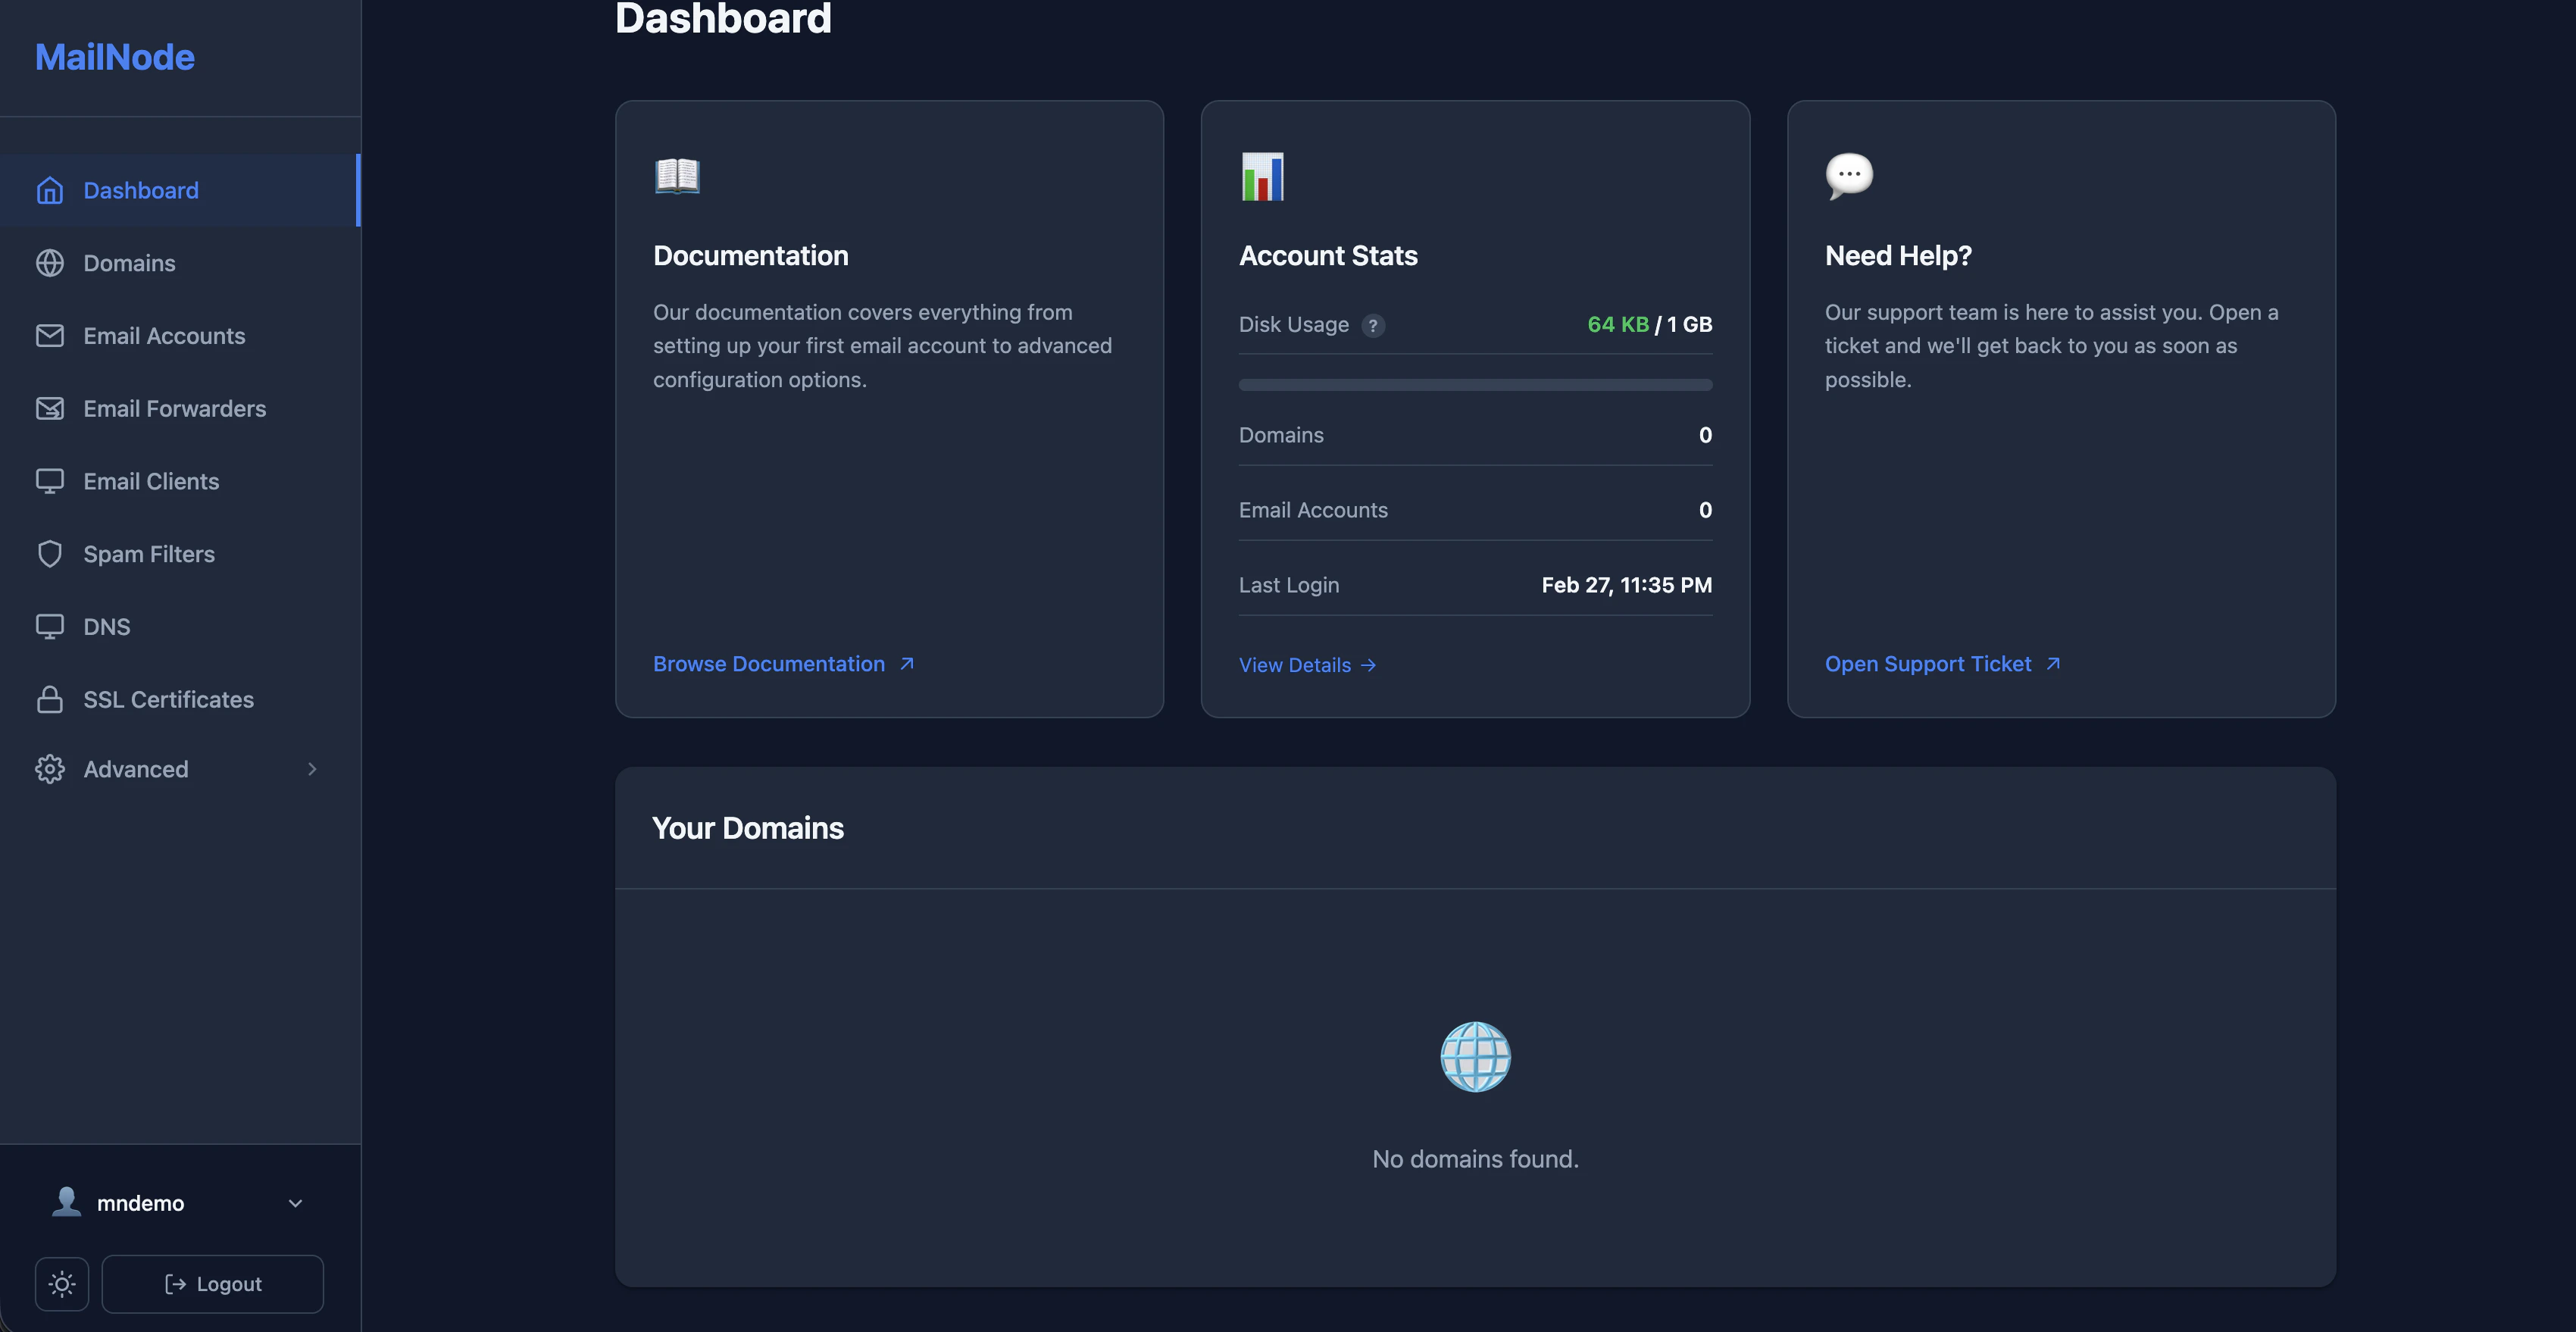
The first step to add your domain is to verify your ownership and set up the verification record.Click Domains - Then select Add New Domain - You will then see the verification TXT records that you need to add - The record will look similar the the belowPlease add this record to your domain’s DNS settings and wait for DNS propagation (usually 5-15 minutes).
After the DNS propagation has completed, attempt to re-add the domain again, and it should then appear in your Domains list.
| Record Type | TXT |
| Record Name | _da-verify-XXXXXXXXXXXXXXXXXXXXXXXX |
| Record Value | domain-verified |
Setting up your MX - SPF and DKIM DNS Records
If you currently have email hosting elsewhere, we recommend setting up your DNS records after you have set up your mailboxes and migrated any emails across
Firstly, remove any default or current MX records that point to your existing mail providerIf you currently have an existing SPF record for sending using Shopify, MailChannels, etc - Please ask before deleting this record as we may give you an updated one different to the DNS page.
| Type | Name | Priority | Value |
|---|---|---|---|
MX | @ | 10 | XXXXXXXX.mxrouting.netCheck your page for the correct settings |
MX | @ | 20 | XXXXXXX-relay.mxrouting.netCheck your page for the correct settings |
TXT | @ | N/A | v=spf1 include:mxroute.com -all |
TXT | x._domainkey | N/A | v=DKIM1; k=rsa; p=MIIBIjANBgkqhkiG9w0BAQEFAANote: this will be very long - click the copy button<br />beside this record when setting it up. |
Optional - Setting up your Custom Hostnames
There is two more additional records we suggest setting up which are located on the SSL Certificates page in the panel menu.By completing these steps, this allows you to use your own domain for setting up mail clients and using webmail, rather than needing to remember the server name you are on.
Once you configure these - It can take a few hours (depending on your DNS provider) for this to propagate, although typically this is less than 1 hour.
The final step once your DNS is propagated, is to activate the SSL certificaties for the mail and webmail subdomains to prevent any issues.To do this, simply select SSL Certificates in the panel menu, tick both the mail and webmail subdomains under Step 2 Request Certiticate and press Request Certificate and then you are good to go.
| Type | Name | Priority | Value |
|---|---|---|---|
CNAME | mail | N/A | XXXXXXX.mxrouting.netCheck your page for the correct settings |
CNAME | webmail | N/A | XXXXXXX.mxrouting.netCheck your page for the correct settings |
The final step once your DNS is propagated, is to activate the SSL certificaties for the mail and webmail subdomains to prevent any issues.To do this, simply select SSL Certificates in the panel menu, tick both the mail and webmail subdomains under Step 2 Request Certiticate and press Request Certificate and then you are good to go.